Product Portrait
Brake cylinders
suitable for: DAF, Iveco, MAN, Mercedes-Benz, Renault, Scania, Volvo etc.
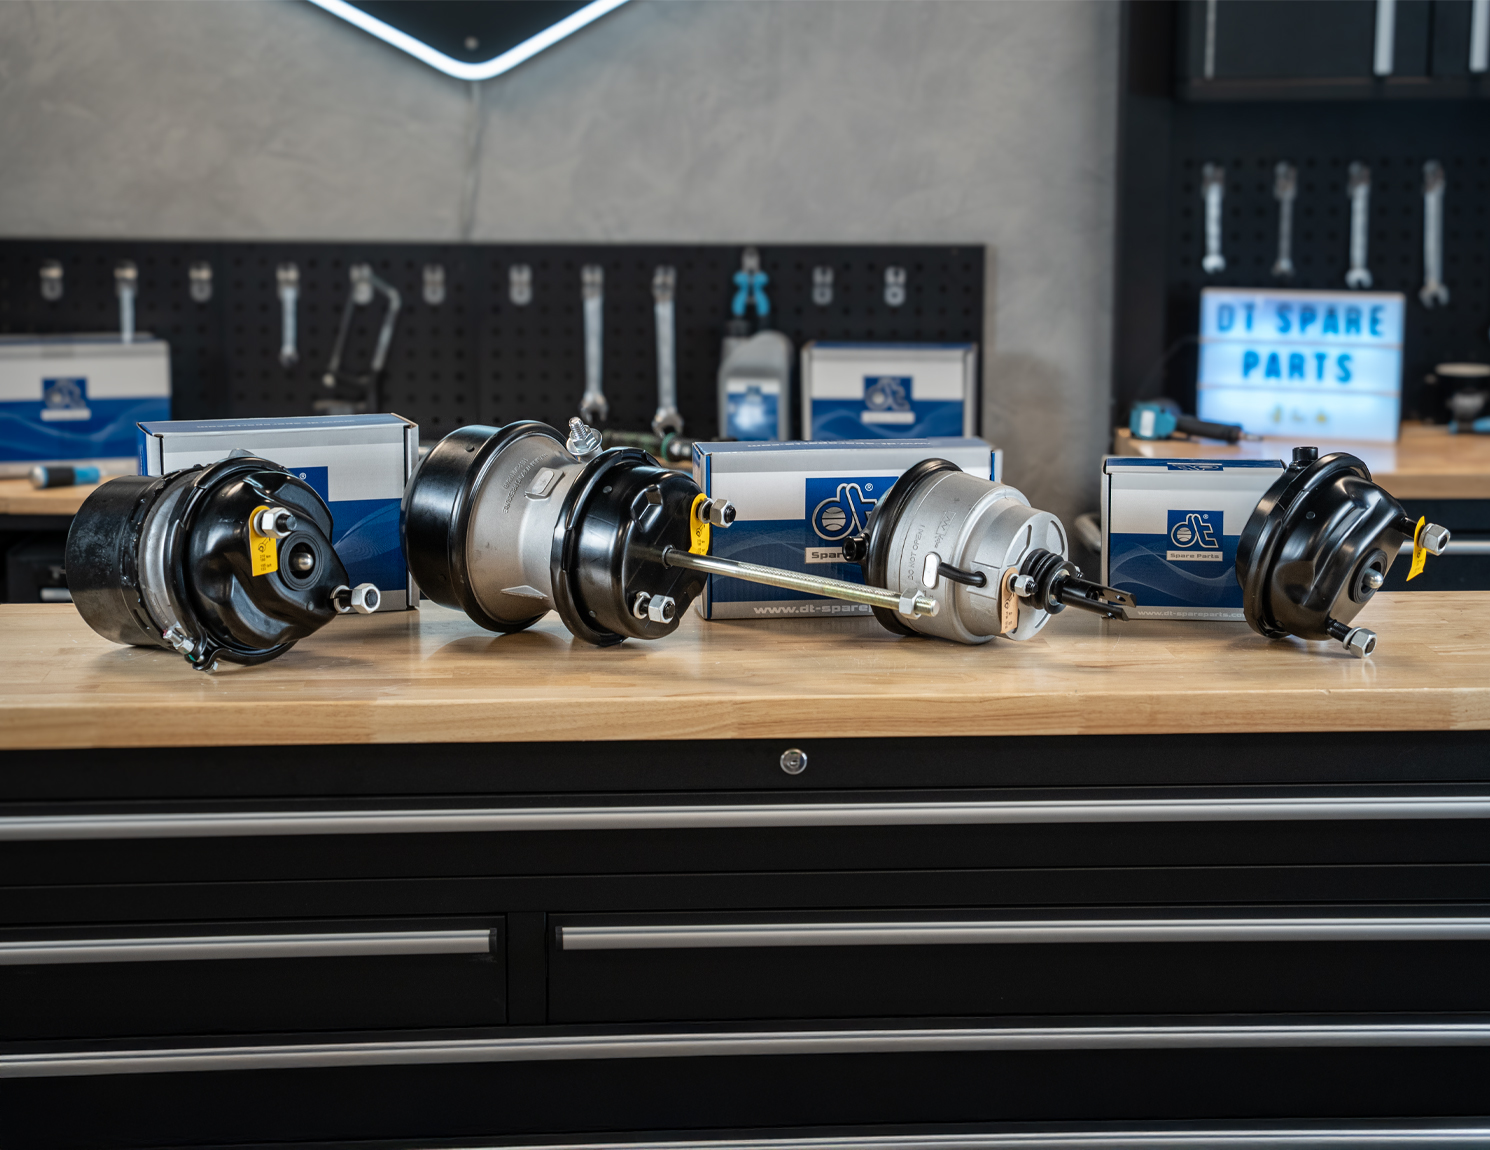
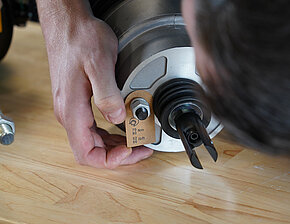
In addition to the classic design, there are also other models available. These include the service brake cylinder and a cylinder with additional connections. There are also variants with a long threaded push rod – ideal for individual adjustments. “Another option is a more compact mechanism in which a short actuating piston serves as the trigger element instead of an push rod”, explains Lars. The torques for the individual screw connections on the cylinder are indicated on a label directly on the spare part.
Function and structure
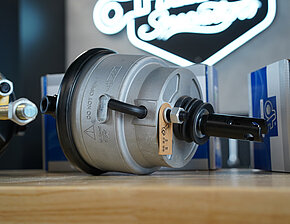
The spring-loaded brake cylinder consists of two functional sections: the spring-loaded brake section and the service brake section located underneath it. The spring-loaded brake cylinders are usually installed on the rear axle. “The central component is the push rod, which is triggered by the brake cylinder and activates the mechanical braking effect”, explains the Parts Specialist.
In the upper part of the spring storage unit, there is a strong metal spring that acts on the actuating plate. Compressed air is fed into the container below via connection 12. This compressed air lifts the spring plate upwards against the spring force, which also pushes the push rod upwards – the brake is released in this position. “When the compressed air is vented from the chamber, the spring pushes the spring plate down again. At the same time, the push rod is moved downwards, activating the brake”, Lars describes the process. Braking with the service brake is triggered via the connector 11. The push rod is activated by a diaphragm via an actuator plate. The service brake is activated for braking while driving. It is therefore used when the spring accumulator section is in the released position.
Emergency release device
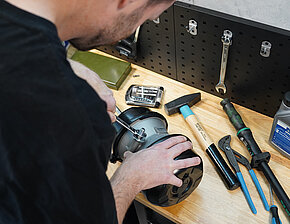
In the event of a breakdown or compressed air failure, the brake can be manually tensioned using the push screw. The internal spring is mechanically tensioned, releasing the brake. “It is important not to use a hammer drill, as this can damage the internal mechanism”, warns Parts Specialist Lars. An alternative emergency solution, which is often installed in trailers, consists of an actuator unit screwed onto the side and fixed to the housing. It is then removed to extend the push rod.
Typical error patterns explained by the Parts Specialist:
- The pipes are marked with the numbers 11 and 12. When connecting them, it is essential to ensure that they are correctly assigned. Marking the pipes during removal makes it easier to install them later and prevents mix-ups. The installation must be carried out using the correct torque to prevent leaks and mechanical damage.
- Take care of the membrane thickness: There are different versions that need to be picked based on the vehicle type and where it'll be used.
- Please check the sleeves for damage, as water can penetrate through leaks, impairing their function.
- After replacing the brake components, the brake settings must always be checked and readjusted if necessary.
- Internal leaks can lead to permanent venting, so it is also essential to check the spring-loaded brake cylinder.
If you have any technical questions about Diesel Technic products and services, the Parts Specialists can be contacted via their own HelpDesk and offer the right support: helpdesk.parts-specialists.com.