Product Portrait
Perni di sterzo
adatto a: DAF, Iveco, MAN, Mercedes-Benz, Renault, SAF, Scania, Volco etc.
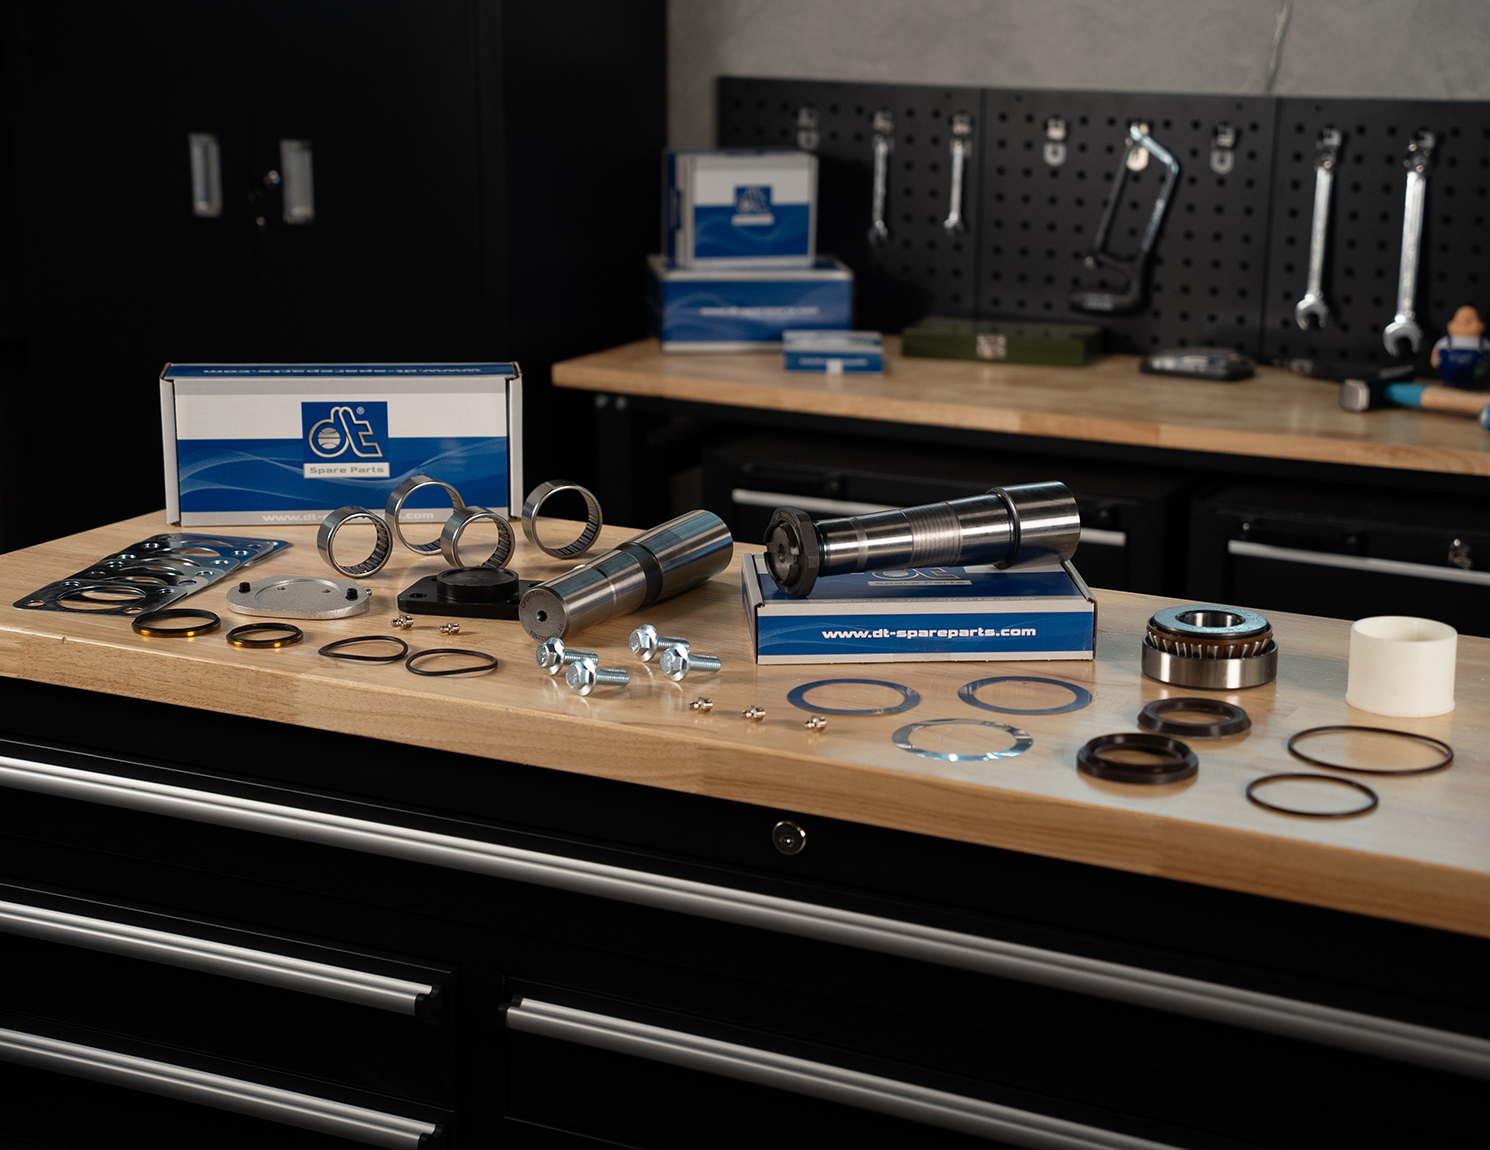
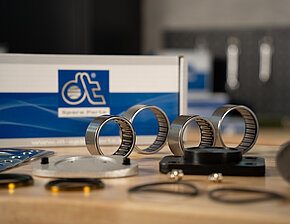
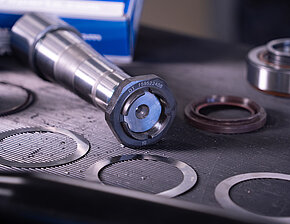
A seconda del modello, il perno di sterzo è installato con due o più cuscinetti e costituisce il punto di articolazione dell'impianto sterzante. Per assicurare che funzioni sempre correttamente, il cuscinetto deve essere lubrificato regolarmente; a questo scopo è dotato di ingrassatore. A seconda del modello di veicolo, i perni di sterzo sono disponibili in versioni a pressare senza filettatura o con filettatura all'estremità.
Tutti i prodotti DT Spare Parts sono testati in conformità al Diesel Technic Quality System (DTQS). Tra l'altro, vengono controllate la durezza, la struttura (rugosità) e l'accuratezza dimensionale. Qui le tolleranze strette sono fondamentali e vengono monitorate attentamente.
Perni di sterzo difettosi possono essere individuati controllando il comportamento di guida del veicolo: rumore durante la sterzata, sterzata lenta o usura evidente degli pneumatici sono segni indicativi di questo problema.
"Le persone pensano spesso che il problema sia nello sterzo, ma la causa più frequente è il perno di sterzo", spiega Lars. Se le tenute sono danneggiate, lo sporco e l'acqua possono penetrare nel cuscinetto. Questo causa corrosione e usura prematura. In base al tipo di veicolo, si installano dei cappucci protettivi, che occorre controllare regolarmente. È consigliabile anche controllare la presenza di gioco: sollevare il veicolo, inserire un'asta nel cerchio e sollevare la ruota. Se c'è gioco tra il fusello e la cuffia del semiasse, si può serrare il dado oppure occorre rimuovere il perno del fusello. "È importante controllare sempre il gioco ammissibile indicato nelle specifiche del produttore", spiega il Parts Specialist.
Rimuovere un perno di sterzo è un'operazione laboriosa. Innanzitutto, si devono rimuovere gli organi collegati come l'asta e il tirante. Se la normale lubrificazione non è più sufficiente, è necessario effettuare altre operazioni: si devono rimuovere ruote, pinze dei freni e altre componenti. Lars sottolinea che "il lubrificatore è normalmente installato su un cappuccio protettivo fissato tramite un anello di arresto".
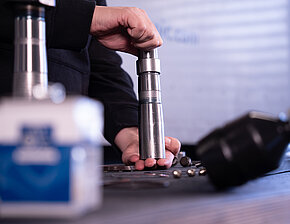
Special tools are essential for dismantling. ‘A hammer is definitely the wrong tool for this,’ warns Lars. ‘Hitting it can deform the kingpin or damage other components such as the axle, leading to changes in size.’ After removal, the steering knuckle and axle should be carefully checked for damage. The seals, pressure washers, bearings and mounting surfaces on the steering knuckle itself must be checked. New spare parts should be pre-lubricated before installation and never mounted dry. It is also essential to observe the installation direction. A tip from Lars' everyday workshop experience: ‘Put the kingpin in the freezer before installation – this causes it to contract slightly, giving you a little more leeway with the tolerances. At the same time, the axle stub can be warmed up slightly to make installation easier.’ This effect can also be used in reverse during removal.
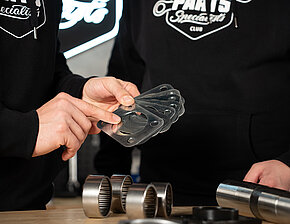
Depending on the vehicle model, shims of varying thicknesses are used between the steering knuckle and the axle stub. It is important to ensure that the correct thickness is used and to check the play again afterwards. Another tip from Parts Specialist Lars: For vehicles with leading or trailing axles, it is advisable to check the kingpins more frequently and lubricate them regularly, not just as part of the usual maintenance intervals. These axles move less than a classic front axle and can therefore become stiff more quickly.
If you have any technical questions about Diesel Technic products and services, our Parts Specialists are happy to help via their HelpDesk and offer the right support: helpdesk.parts-specialists.com. Our Parts Specialists are now also available in the ‘PS App’. There you can send enquiries directly to our team of experts – quickly and easily with your smartphone in your pocket.